
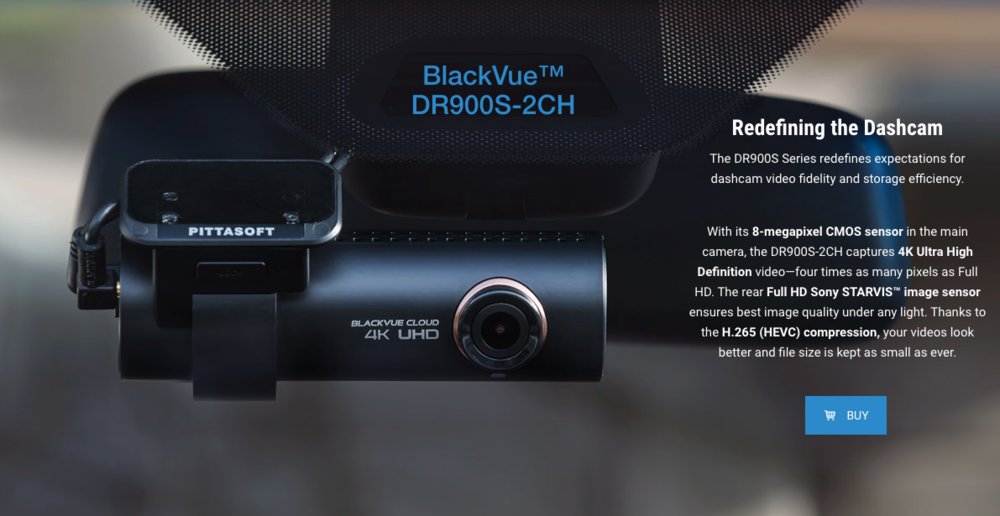
The blackvue dashcam is probably the best dashcam option I have personally found. I first was recommended this dashcam by a friend who was running the same setup in his Audi R8. This dashcam shoots in 4K, has a wide front and rear view and also records audio. All of which are imperative when collecting evidence at the time of an accident. Blackvue also has an app that you download to your phone, you then connect via Wifi and can download the footage right then and there. This makes is very simple to get ahold of your footage quickly. I also opted for the power pack, this uses an external battery while my car is off (in parking mode) so I am not sucking battery from the car itself. While driving, the car will recharge the power pack so the next time you park your car, the cameras stay rolling.
You can buy the dashcam HERE. If you would like to save yourself 10% off, use “ThicF30” at checkout.
Here are the blackvue products I am running on my M2:

The Blackvue 4K 2 channel Dashcam

The Blackvue Power Pack
Here are the tools we will need to perform the install:
Trim Tool Set - Buy Here
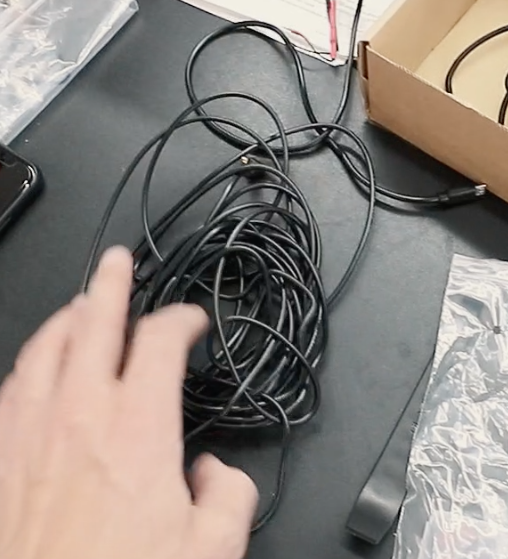
First step, unbox everything and lay it out in front of you. This helps keep the install organized.

Jump in the car, this is where your front dashcam will be mounted:

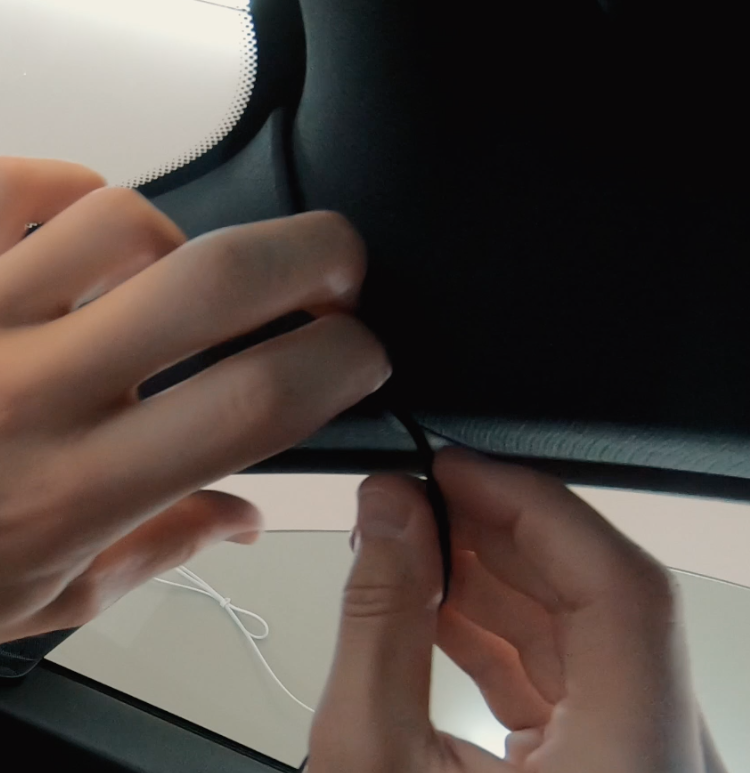
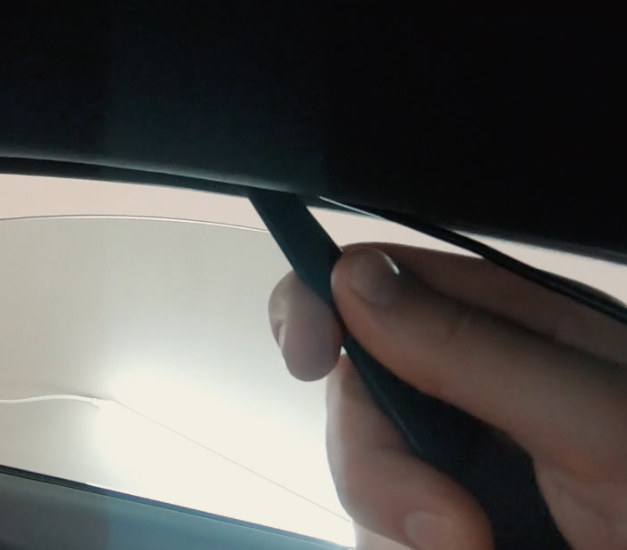
The wires will run up into the mirror housing assembly, through the headliner, past the passenger pillar and through the top weather stripping. All of the way to the back window where your rear brake light is located.


I like to mount the front dashcam first, this way I know how much wire slack I need before tucking and running the wires for the dashcams. Expose the adhesive on the front dashcam and apply it to your front windshield. I like to do this while sitting in the drivers seat, that way I don’t adhere the dashcam at a crooked angle.


Next I like to run my power cable first. This will be sent all of the back to the trunk, where my powerpack will be located. Both cables that are being ran to the back will be ran in the same channel. Mirror housing assembly - headliner - pillar - weather stripping and then for the power, we will run the cable downwards, behind the rear seats and into the trunk space. You can either hardwire this power pack with a hardwire kit or you can use the cigarette lighter 12v located in the trunk. I don’t use that rear 12v so I am going to run this powerpack into that as it’s never occupied.


Now we will run the second wire that connects from the front dashcam to the rear dashcam. This is the cable that sends power to the rear dashcam. Go ahead and mount the rear dashcam just beneath your rear windshield brake light and begin running the wire. We will be taking the same path that we took for the power pack wiring however rather than running it into the trunk, we will be running it up into the rear headliner.


You will have a lot of slack in the rear, you can tuck that into the rear headliner. Zip tie it together if you would like. If you are having trouble getting your wires to stay tucked in the front or rear headliner, use the little black clips that have 3m on them. The clip portion goes around the wire and the 3m portion goes into the headliner on the windshield.
For the rear power pack assembly, I used the velcro adhesive supplied and stored mine in the little compartment on the right with the netting. I don’t use that so it was a good place to keep the powerpack. I then ran the 12v plug from the right side to the left side into the 12v slot, this isn’t permanent for me I am likely going to hardwire the kit in the future but it does the job for now.

The footage quality is incredible, you can’t beat 4k!

If you would like to watch my full install video, you can do so here: