

The Dinan cold air intake is a beautiful modification that really brings the M2 N55b’s engine bay to life. It’s carbon fiber, It sounds incredible and it suits the engine bay very well. You can purchase the intake from Kies Motorsports HERE.
This install does require slight modification to your driver’s side strut brace, you will need to shave a small piece off in order for this to fit well. It is quite simple.
Here are the tools you will need to do the job:
First step, pop the hood..expose the guts & locate your stock intake.

Remove the vacuum line and Mass Air Flow Sensor. For the vacuum line, just press together each side of the circular plastic piece and pull. For the MAF sensor use the flat head screwdriver to open the clip and release the sensor.


Next we will remove the clamp on the passenger side of the intake, you can do this with an 8mm socket or a flat head screwdriver.


Now we can pull the intake free from the two rubber grommets. One is near the airbox and the other is dead center on top of the radiator support.


Gently remove the stock air intake from the engine bay and set it aside. You can also go ahead and remove the driver’s side strut brace, this will need to be modified for the dinan intake.


Remove the factory air box from the intake system, there are 4 clips that are holding the top and lower air box together. Release the clips with a flathead screwdriver and set the top of the factory air box aside. The clips can be removed entirely from the factory airbox, the dinan intake comes with new clips. We will be reusing the bottom portion of the factory air box with the new top dinan airbox.

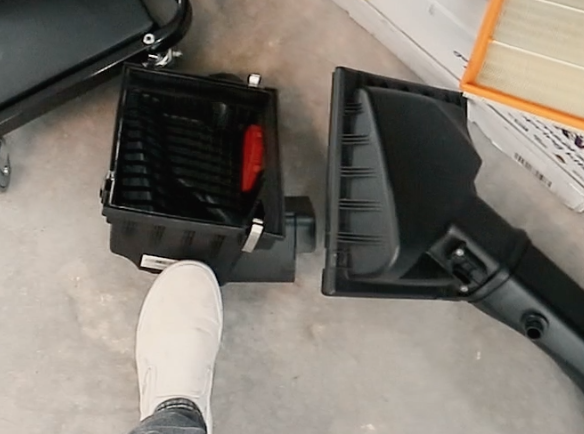
There is an adhesive foam strip supplied by dinan that you will need to run around the circumference of the lower factory airbox in the little plastic canal. A bit of stretching and carful placement is needed here, but take your time and it will line up perfectly all of the way around.


Take the new clips out of the bag and install them on the lower factory airbox, then take the dinan filter and connect that to the new dinan airbox. Please the cone portion of the box into the factory lower air box. It should line up perfectly, it is very snug when you clip everything together. Swap over your MAF sensor from your factory intake onto the dinan intake.


Next, we can install the box portion of the intake back into the car. Same way you pulled out the factory air box use the rubber grommet, go ahead and reconnect your vacuum line and MAF sensor.


Now we can take the silicone connecting piece and use the two metal clamps to connect the carbon to piping to the new airbox. Tighten down all clamps, including the passenger side clamp that connects to the dinan carbon fiber tubing. DO NOT overtighten these clamps or you can crack the carbon, hand tighten them.


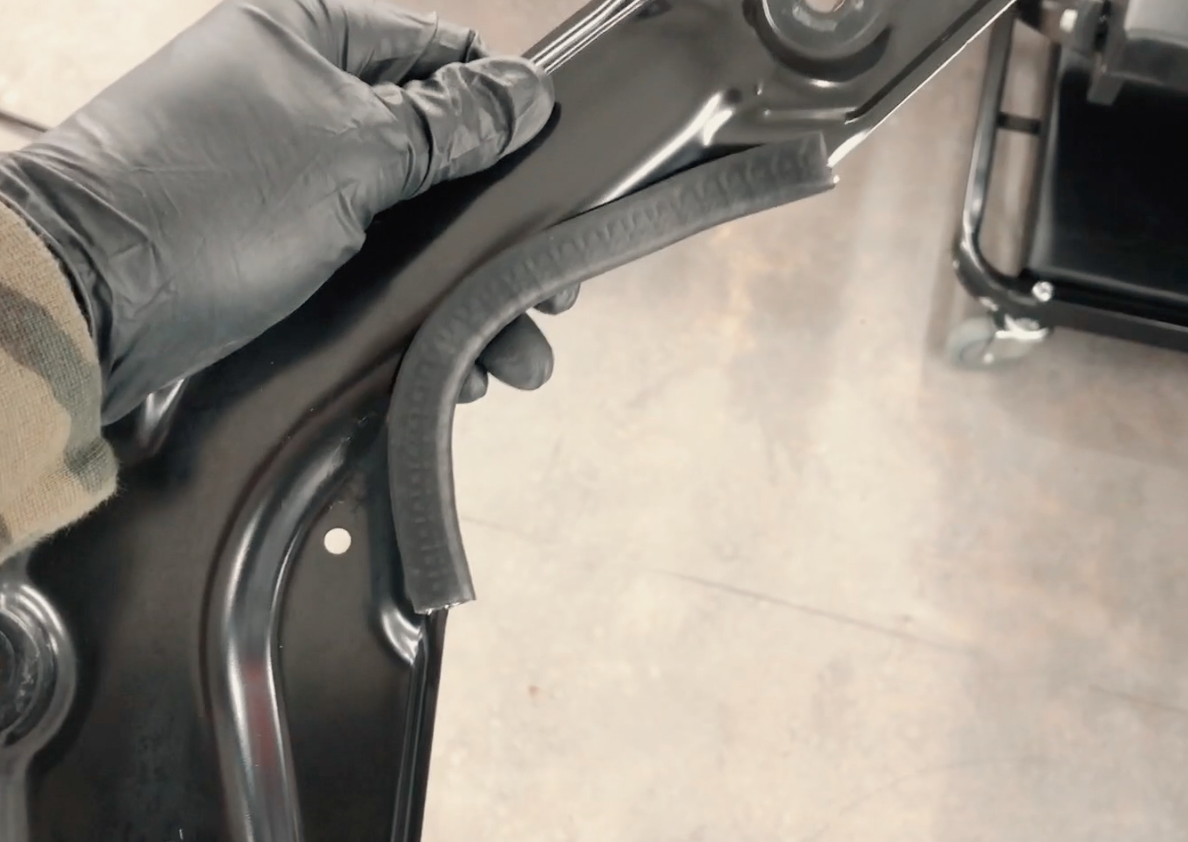
Now we will need a corner out of the driver’s side brace. This is so we can leave room to clear the new dinan intake box. (Some people run this intake without the brace entirely, bad idea..don’t do that.) Best way to do this, line up the brace with the existing screws over the airbox. Take a sharpie and draw a line where you will be cutting. We will use a dremel and safety glasses for this part.


Once the cut has been made you can use the rubber lining that dinan has provided to cover the cut on your brace. This will protect the airbox from getting scratched and just makes everything look much cleaner than leaving an exposed cut mark.

Reinstall the strut brace, and just like that…you are FINISHED!


Feel free to watch the full video install of this intake here: