

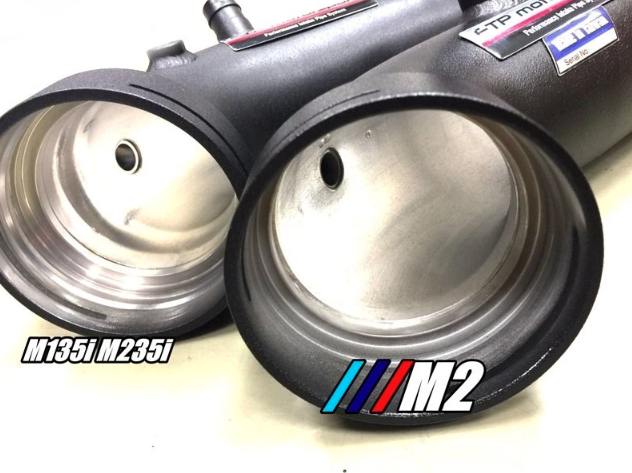
The OG M2, N55b has a weakpoint. This is the factory plastic chargepipe. These are prone to cracking under boost, and especially under increased boost. Inevitably, I was going to be increasing boost with a tune by bootmod3 so I knew that one of the first modifications to address would be the FTP Chargepipe by Kies Motorsports.

Here’s what we are going to need to perform this install:
Low Profile Jack (My car is low, this is a solid jack) Buy Here
Impact Drill Set (If you work on your car, do yourself a favor and pick this set up) Buy Here
8mm socket Buy Here
A long Flat head screwdriver Buy Here
T20 Torx Buy Here
T25 Torx Buy Here
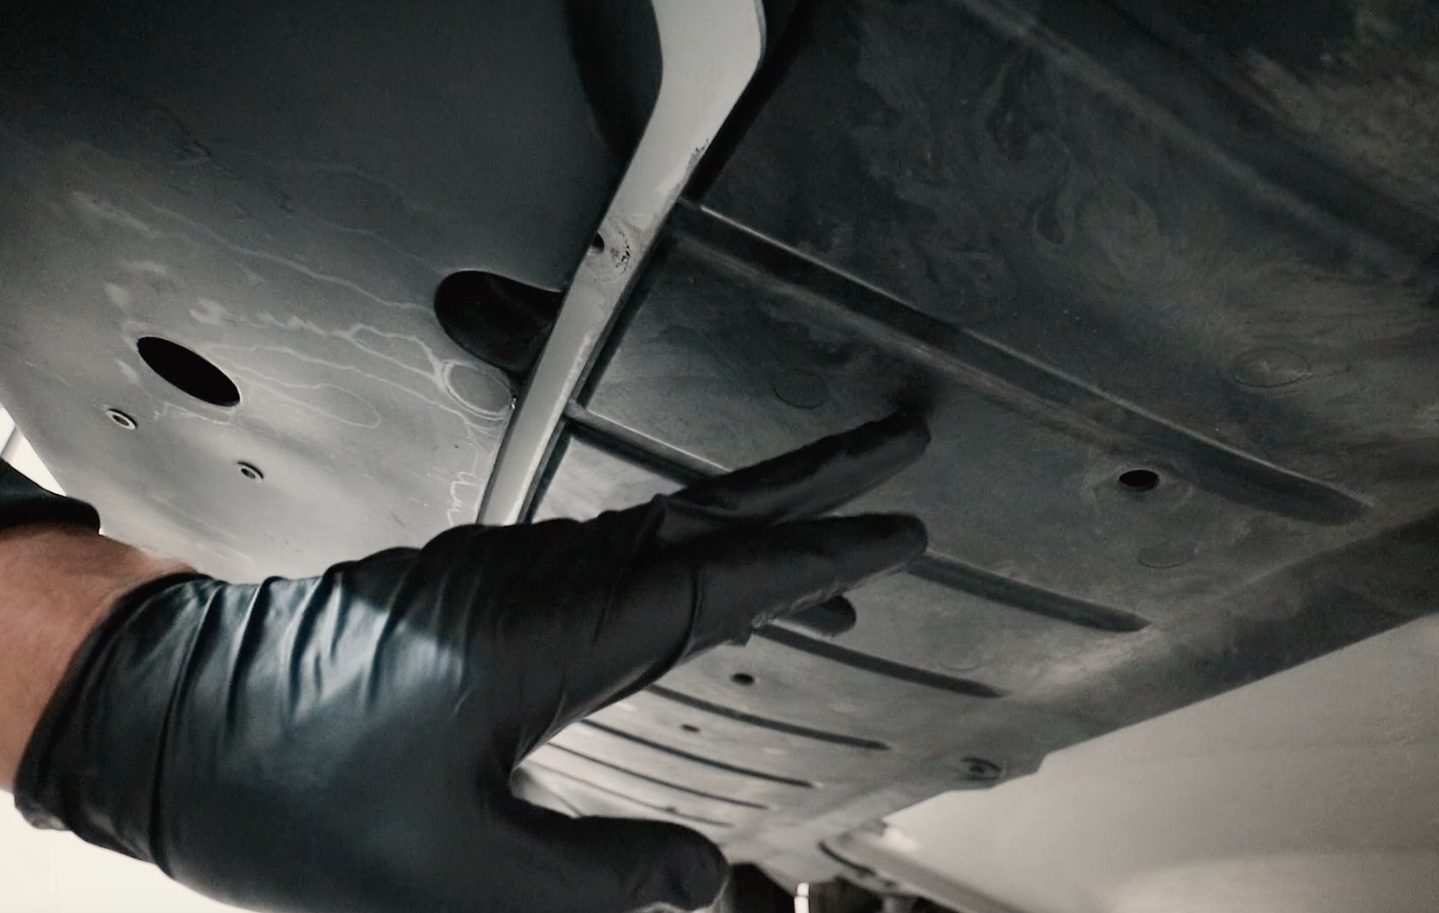
First we need to jack up the car and remove the two undertays, one is plastic and one is metal on the M2. The plastic one sits just behind the front bumper and you will see the metal pan just behind the plastic tray. Removing these will give us access to the chargepipe from underneath the car. Watch out for falling debris or dirt, wear glasses if available.

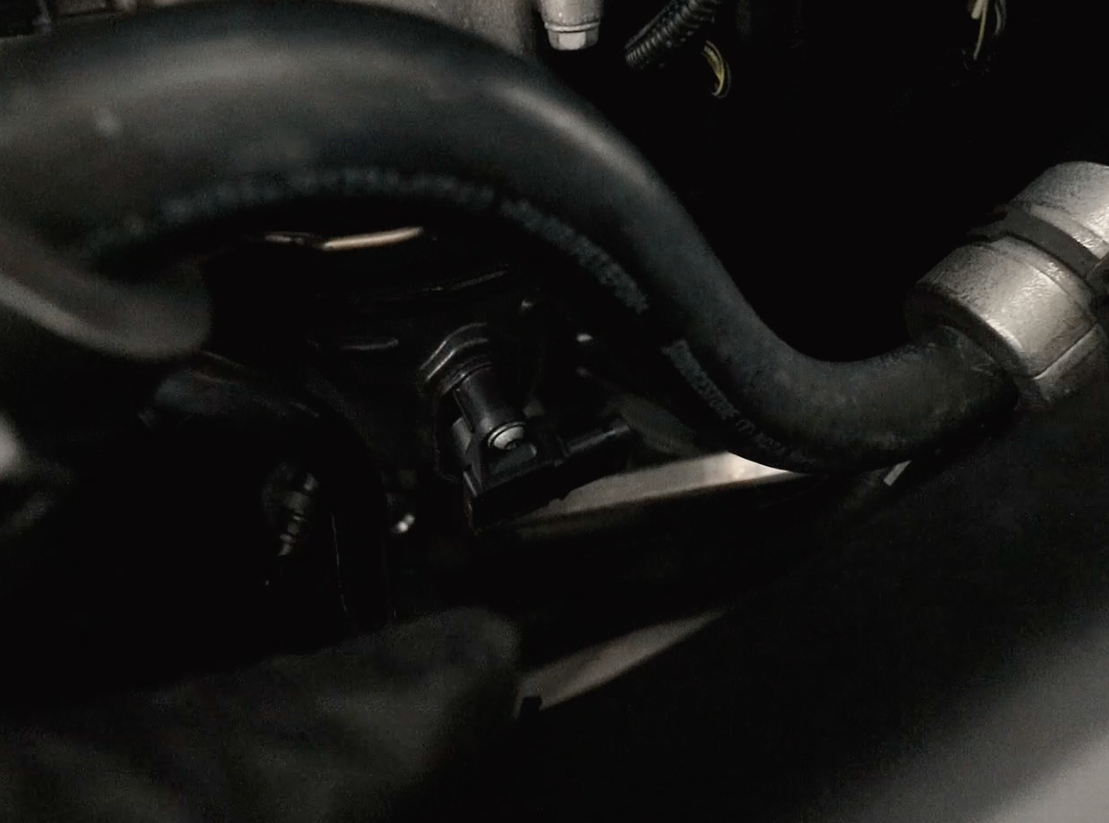
Next we are going to head in from the top of the car and disconnect the map sensor located near the top of the stock chargepipe. It will look like this..

There is one more sensor (Vacuum line) that you will see running into your intake from your chargepipe, go ahead and disconnect that from the chargepipe end.

Next we will remove the retaining clip from the top of the chargepipe. Use your longer flat head screw driver or a pick tool to lift up from the center and remove the clip from being locked in at both sides.


Next we can go ahead and remove the chargepipe from the throttle body up top, this takes a bit of force but eventually you should be able to remove it completely from the throttle body.
Next we will be removing the lower end of the chargepipe from the intercooler underneath the car. There is another retaining clip, remove that one the same way that you removed the clip from up top using a flathead screw driver or a pick tool.


Now we are going to drop the intercooler for clear access to the chargepipe. There are two T25 torx bolts on each side of the intercooler. Go ahead and remove those. Then you will need to finesse the FMIC out of the car, it is a very tight space. Take your time here and make sure you don’t brake any lines or plastic.


Now we are going to remove the chargepipe from the bottom of the car. This will take a lot of pulling and twisting, if you have another person handy to help guide from up top that will make things easier. Eventually, you will get the chargepipe out.


Now lets remove the old map sensor from the stock chargepipe. Two T20’s are holding that in place. You will be using new screws that come with the FTP chargepipe to fasten the map sensor to the new chargepipe. They new screws are alan heads. Do not use the old screws in the new chargepipe, they are not the same threads.


Next you can assemble your new chargepipe in (as close to) or similar orientation as your old chargepipe. The closer you can get here, the better it will fit. You also do not need to transfer any seals or gaskets from the original chargepipe. The FTP CP comes with new seals and new gaskets. Don’t forget to screw in the adapter for your vacuum line. That’s the silver spout looking piece, I used a touch of loctite on mine but that is not necessary.

Now we can take the newly assembled chargepipe and fish that in from the top of the engine bay. This will take some finessing and wiggling around. Be patient, take your time..you’ll get it in eventually.


Now we will connect the the chargepipe to the throttle body, use the new retaining clip supplied with the FTP Chargepipe. Make sure everything is seated properly and that the clips are all of the way in, you should be able to push and pull on the chargepipe and nothing should budge.
Now we are going to reinstall our intercooler from the bottom, same way that we removed it in reverse. Once that is back in you are going to connect the lower end of the chargepipe to the intercooler using the new retaining clip supplied with the ftp chargepipe. This part is tricky. I ended up loosening the clamps on the silicone piece that connects both ends of the chargepipe so I could get a bit more flexibility out of it.
Once you have the lower end in, fasten your retaining clip and make sure it is secure. All ends should be seated and there should not be any movement at all.

Now it is simply a matter of reinstalling all of the lower trays and reconnecting your map sensor/vacuum lines up top. Basically reverse what you did when removing the old chargepipe.
Then you should be smiling like this:

If you want to watch the full video of me installing this chargepipe, you can do so here: